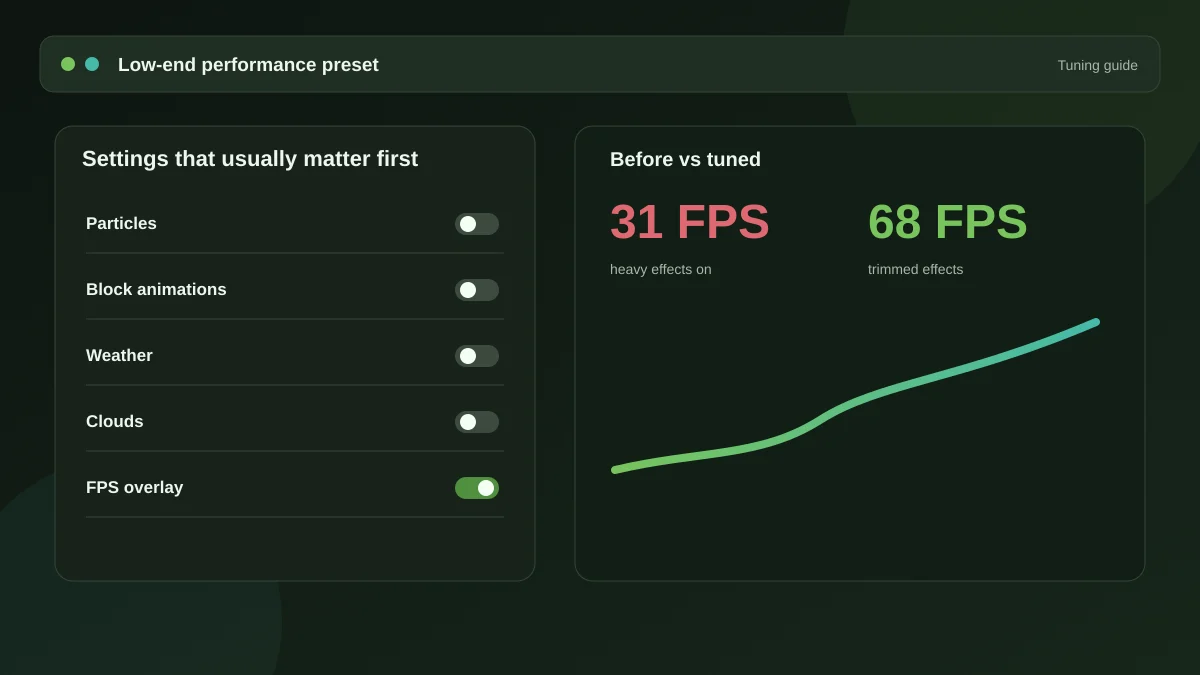
The mod adds a lot of switches, and not all of them matter equally. On an old laptop with integrated graphics, a handful account for most of the gain and the rest are close to noise. This is that shortlist, roughly in order.
First: turn on the overlay
Before changing anything, enable the frame rate counter in the overlay options. Everything below is worth testing rather than trusting, because the answer depends on your hardware, your render distance and the pack you are running. Without a number on screen you are just moving sliders.
Pick one spot in a world and return to it after each change. Comparing frame rates in different places tells you nothing.
1. Particles
Usually the largest single win on weak GPUs. Particles are drawn in large numbers, each is transparent, and transparency is expensive. Disabling ambient and block-breaking categories tends to help most; explosion particles matter mainly if you spend time in combat.
2. Block animations
Animated textures — water, lava, fire, portals, prismarine — update continuously whether or not you are looking at them closely. Switching animations off is one of the cheapest changes available and is often worth several frames on integrated graphics.
3. Weather
Rain and snow are drawn as many small transparent quads across the whole view. The effect on frame rate only appears during weather, which is precisely when a struggling machine is already at its worst. Reducing or disabling it removes that dip.
4. Entity and block-entity distance
How far away the game bothers to render item frames, armour stands, signs and chests. In a build-heavy world or a tech modpack, lowering this can help considerably. In an empty survival world it will do almost nothing — which is exactly why measuring matters.
5. Biome blend
Biome blending smooths colour transitions between biomes, and it costs CPU time during chunk building rather than GPU time per frame. If your problem is stuttering while exploring rather than a low steady frame rate, this is the setting to look at.
6. Fog, sky and clouds
Worth adjusting, but expect less than the earlier items. Clouds are the most expensive of the three. Reducing fog is often more about visibility than frame rate — many players turn it down simply to see further in a dark cave.
What to do about frame pacing
A frame rate limit slightly above your display's refresh rate reduces heat and fan noise on a laptop without any visible cost. On thermally constrained hardware this can produce a more consistent experience even though the peak number goes down. Consistency generally feels better than a high average with regular dips.
What this mod cannot fix
Render distance remains the single largest performance setting in Minecraft, and it lives in Sodium's own options rather than here. If you are running sixteen chunks on integrated graphics, no amount of particle tuning will rescue you. Drop the distance first, then use these toggles to recover detail elsewhere.
Memory allocation, background applications and thermal throttling all sit outside the game entirely. A laptop running hot on battery power will underperform regardless of settings.
A sensible starting configuration
- Frame rate overlay on.
- Ambient and block particles off, combat particles on.
- Block animations off.
- Weather reduced or off.
- Biome blend at its lowest comfortable setting.
- Clouds off, fog to taste.
- Frame limit just above your refresh rate.
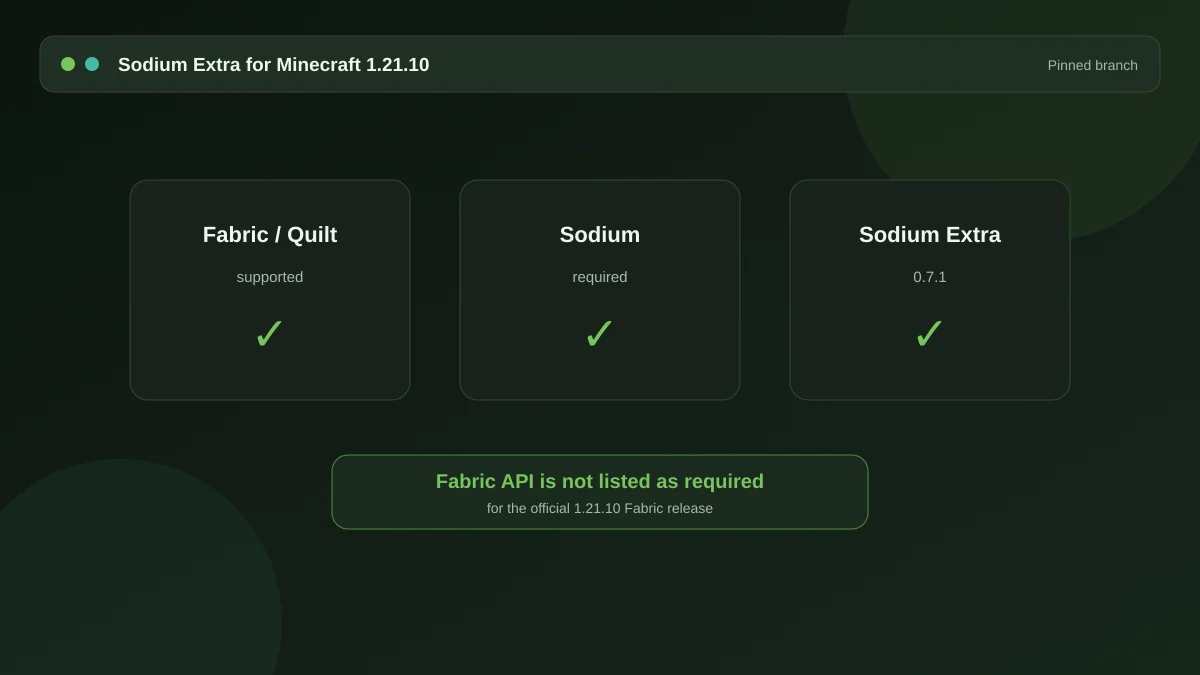
From there, turn things back on one at a time until you find the point where the frame rate stops being acceptable. That point is your configuration. If you are setting this up on a current version, the 1.21.10 guide covers the install alongside these recommendations.
Get the mod
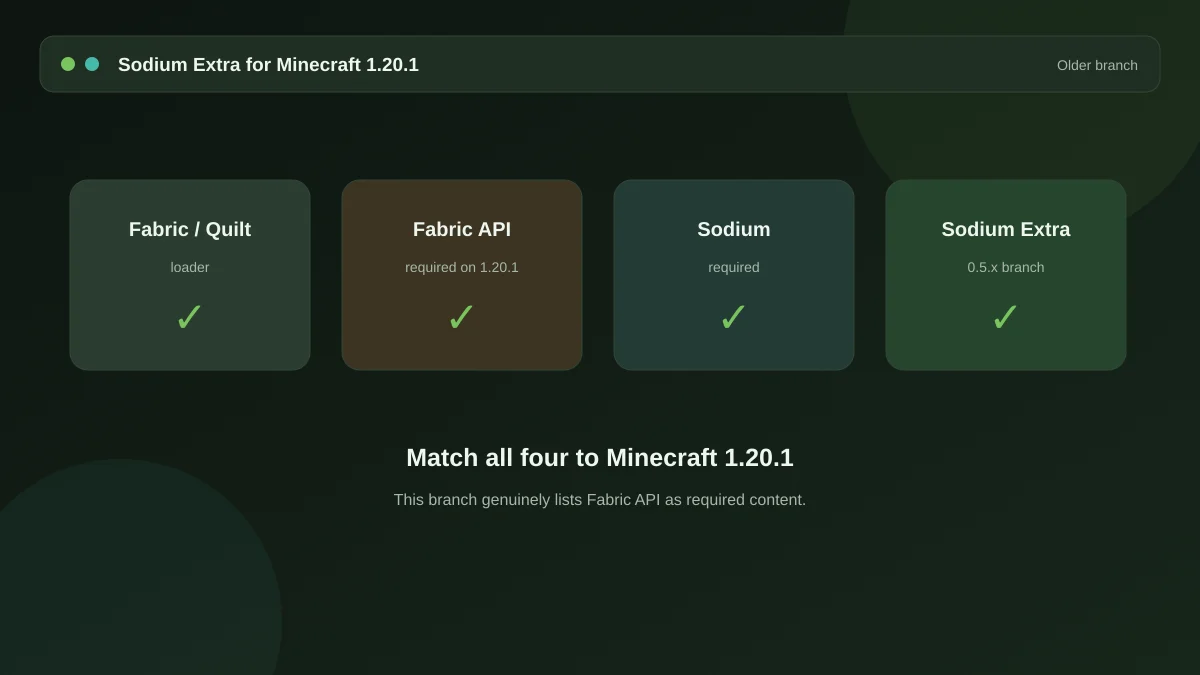
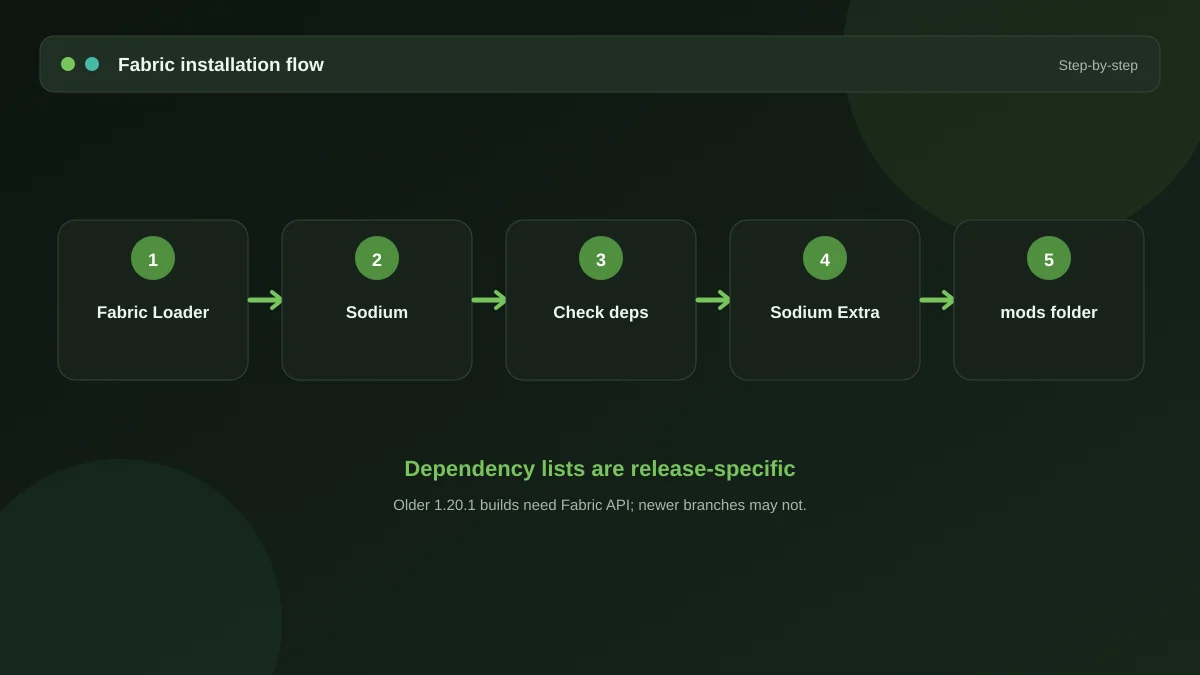
The package and the full dependency list live on the homepage, along with the ten-minute setup walkthrough.
Download Now